
DLSS 5 Swapper Add-ons and Controls Explained
Identify DLSS 5 Swapper components, understand the separate control panels, and adjust supported effects without mixing consumers or mistaking a preview.
Know which component does what
| Component in v2.2.7 | Role | Important distinction |
|---|---|---|
| ReShade 6.8.0 | Framework for effects and native add-ons | An effect file and a native add-on are different things |
| Feeder 0.15.1 | Supplies inputs for a compatible neural consumer | Loading the effect is not proof that depth and motion data are correct |
| RenoDX DLSS5 v4.7 | Ordinary native / Feeder neural consumer | Not the Multipass consumer |
| RenoDX DLSS Tool, 2026-09-05 build | Separate Multipass route | Uses its Home panel and Pass Count |
| OptiScaler DLSS-NR | Separate route with model and input conditions | Upstream OptiScaler features do not imply Swapper integration |
| dgVoodoo2 2.87.4 | Bridge used by documented legacy routes | Has its own license and compatibility limits |
Versions come from the v2.2.7 component table.
Inspect the installed route
Open the target game entry and establish which route was installed. Then inspect the relevant in-game panel and logs to identify what actually loaded. Do not load both RenoDX consumers or place a second proxy DLL over an existing loader without understanding the conflict.
For Skyrim with ENB, record the existing ENB and ReShade loader names and versions before installing another route. Do not rename or overwrite proxy DLLs by trial and error. Use a coexistence procedure from the component authors that matches those versions; if none is available, keep the existing setup. A DX9, DX11 or DX12 label alone does not decide which add-on binary or loader your installation requires; executable bitness matters too.
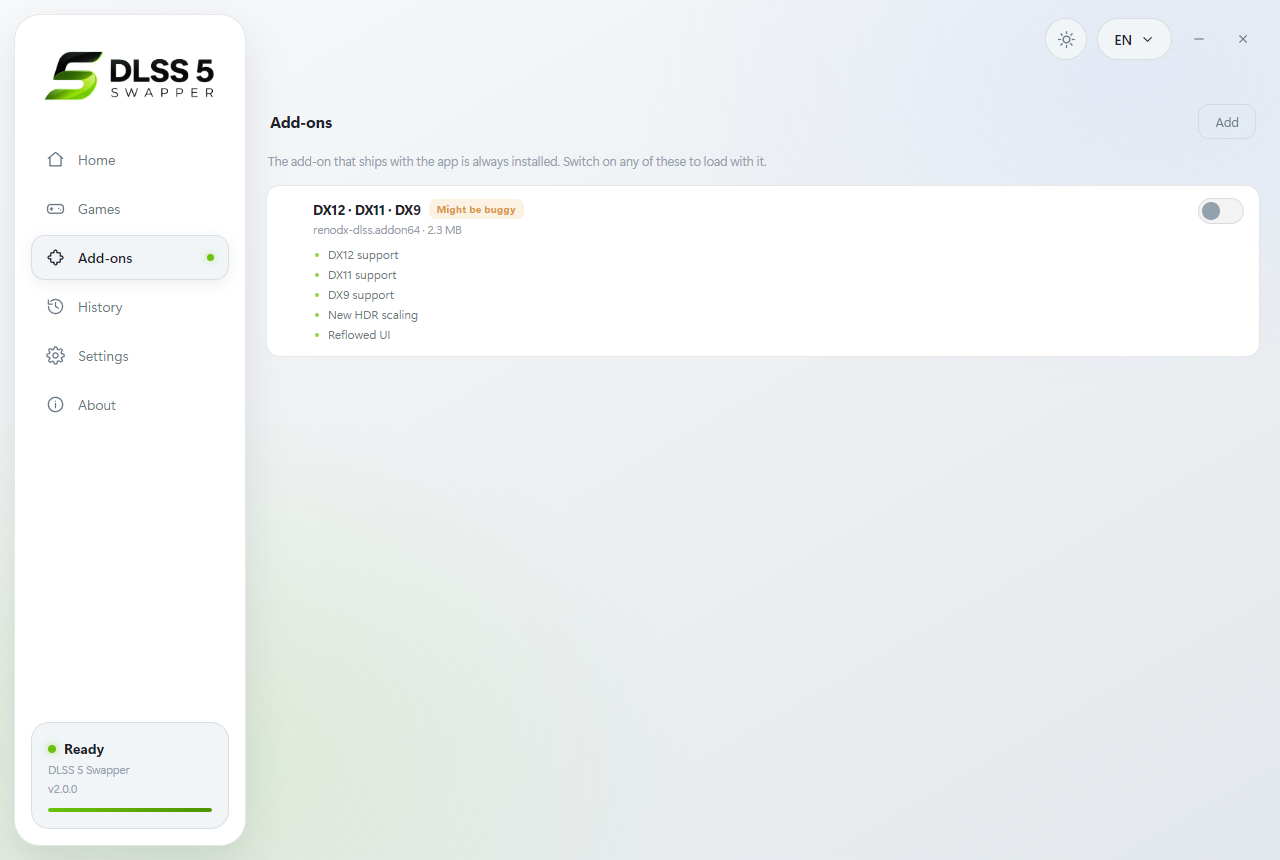
The v2.0.0 Add-ons screen shows where components are managed. Use the v2.2.7 table above for the component versions in this guide.
Use the correct controls
The overlay documentation describes the compact overlay and its connection to supported game configurations. Keep Swapper running and use the configured hotkey, normally F8. The documented style shortcuts A / B / C select NR Style options; they are not three separately verified NVIDIA models.
For controls such as intensity, tone, or structure, adjust one value at a time in a fixed scene and compare the visible result. A setting readback confirms communication with configuration, not necessarily a successful neural evaluation. Keep the previous value available so you can undo a change that looks worse.
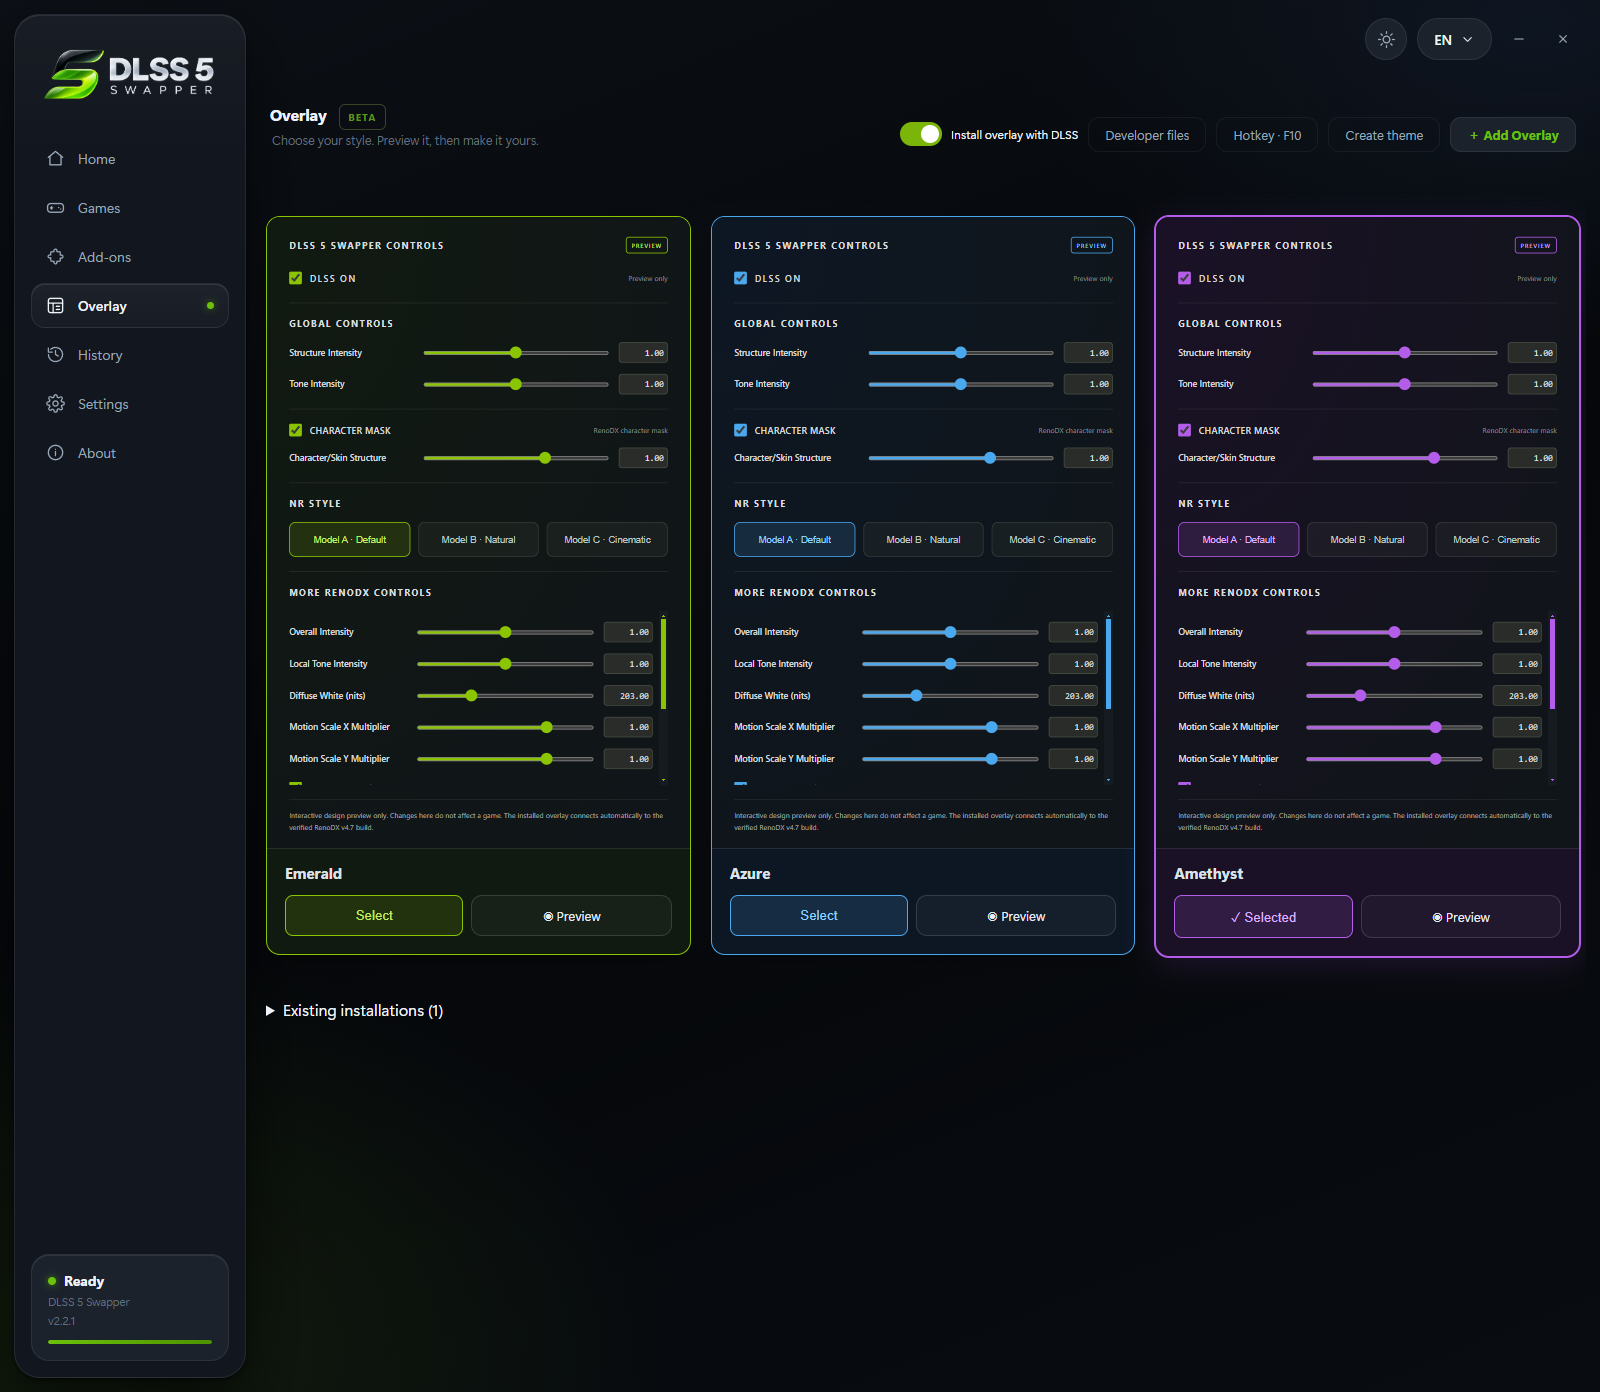
The v2.2.1 screen above shows a custom F10 key; the default is F8. Preview only lets you adjust the panel’s appearance without controlling a connected game.
Save, compare, and recover
After a change, verify that the intended value remains and that the same scene behaves as expected. Keep a record of the previous values so you can reverse a visual adjustment. If the route or consumer must change, close the game and restore before reinstalling.
For supported-route conditions, read compatibility. For Pass Count, read Multipass. Controls that never connect belong in overlay troubleshooting; missing effects or DLLs belong in file diagnostics.
Related Articles
DLSS 5 Swapper vs DLSS 5 Manager: Choosing a Tool
Comparison
Compare the documented DLSS 5 Swapper and DLSS 5 Manager releases by installation, components, diagnostics, and recovery, without unsupported FPS rankings.
DLSS 5 Swapper Compatibility: RTX 3060 and Beyond
Compatibility
Check DLSS 5 Swapper requirements for RTX 3060 and other GPUs, separating Windows, drivers, APIs, models, game routes, and the compact overlay's limits.
DLSS 5 Swapper Download: Installer or Portable
Download
Find the official DLSS 5 Swapper download, compare installer and portable packages, verify the checked release, and choose a version with a recovery plan.